


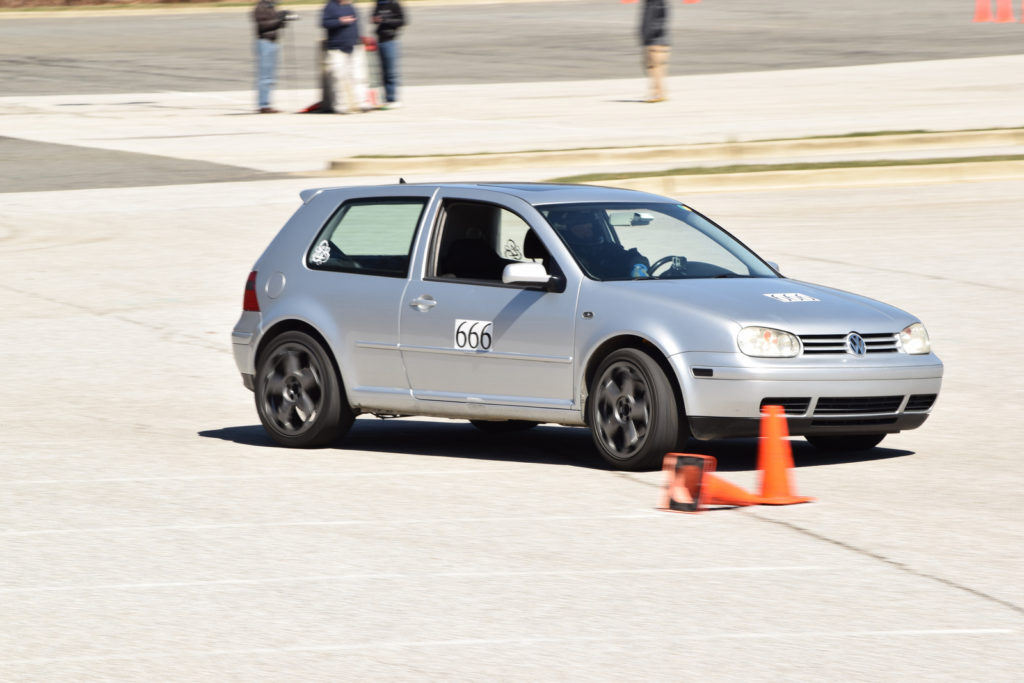
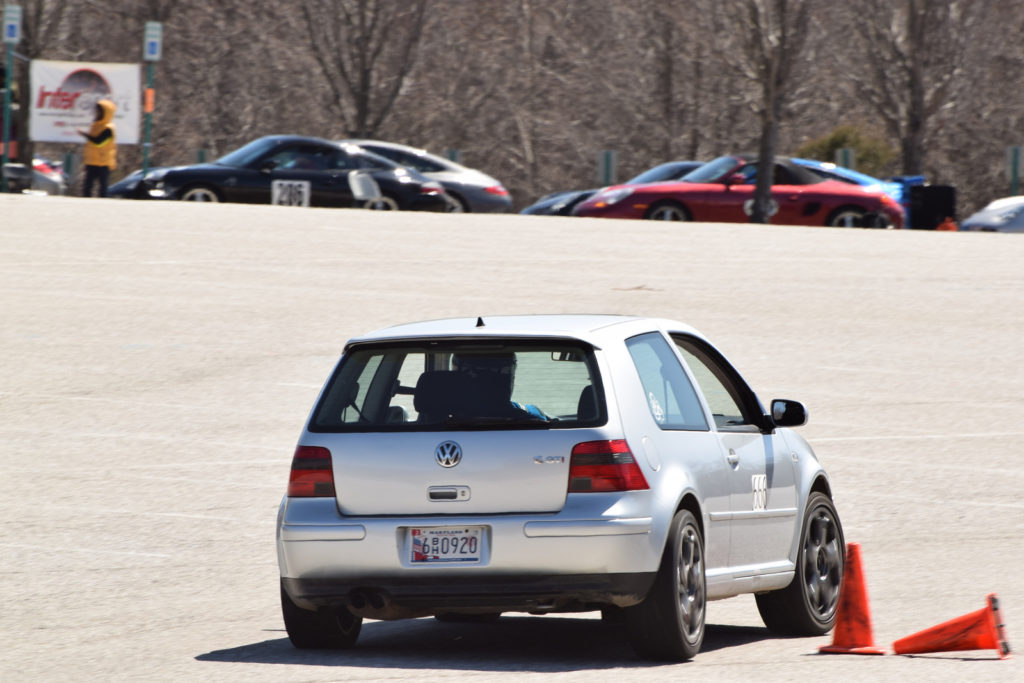
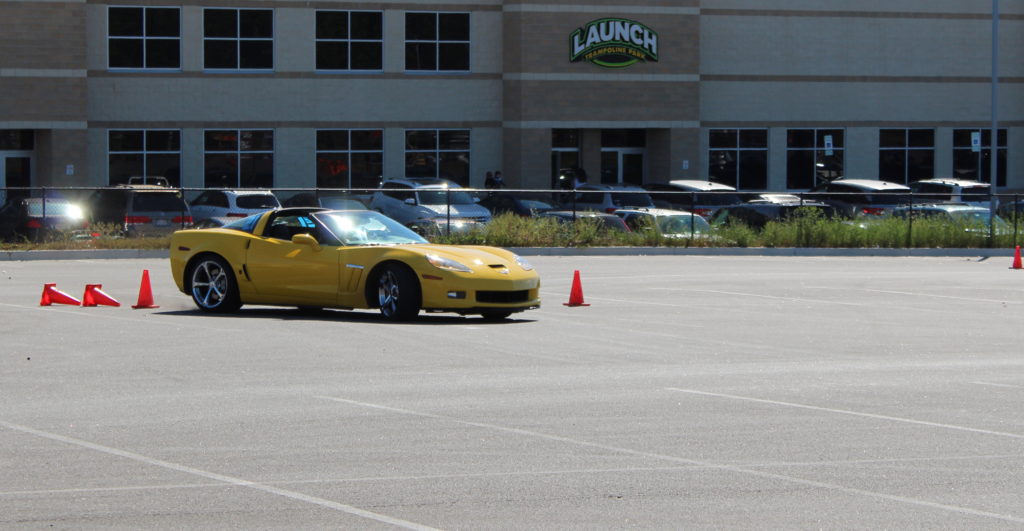
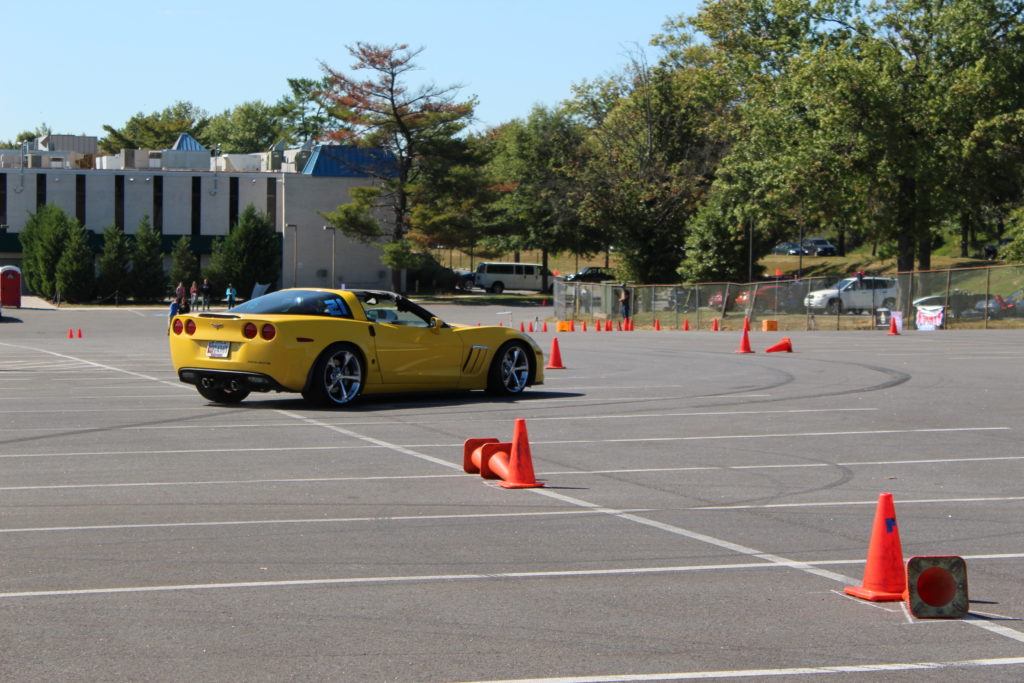
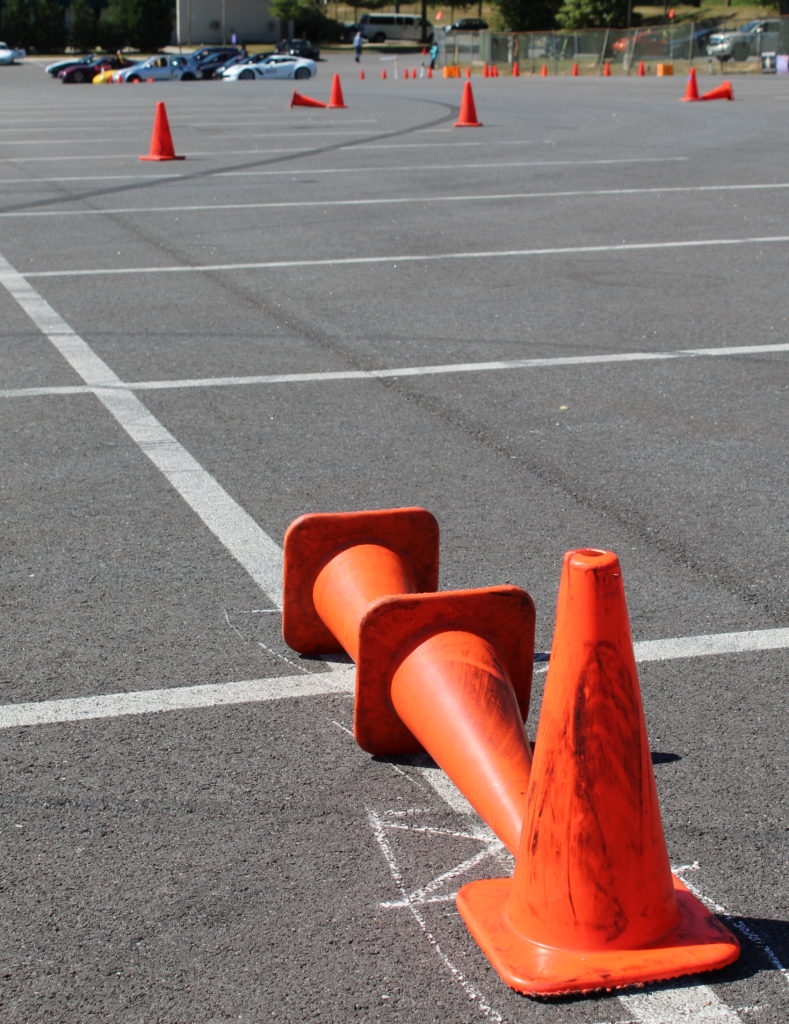
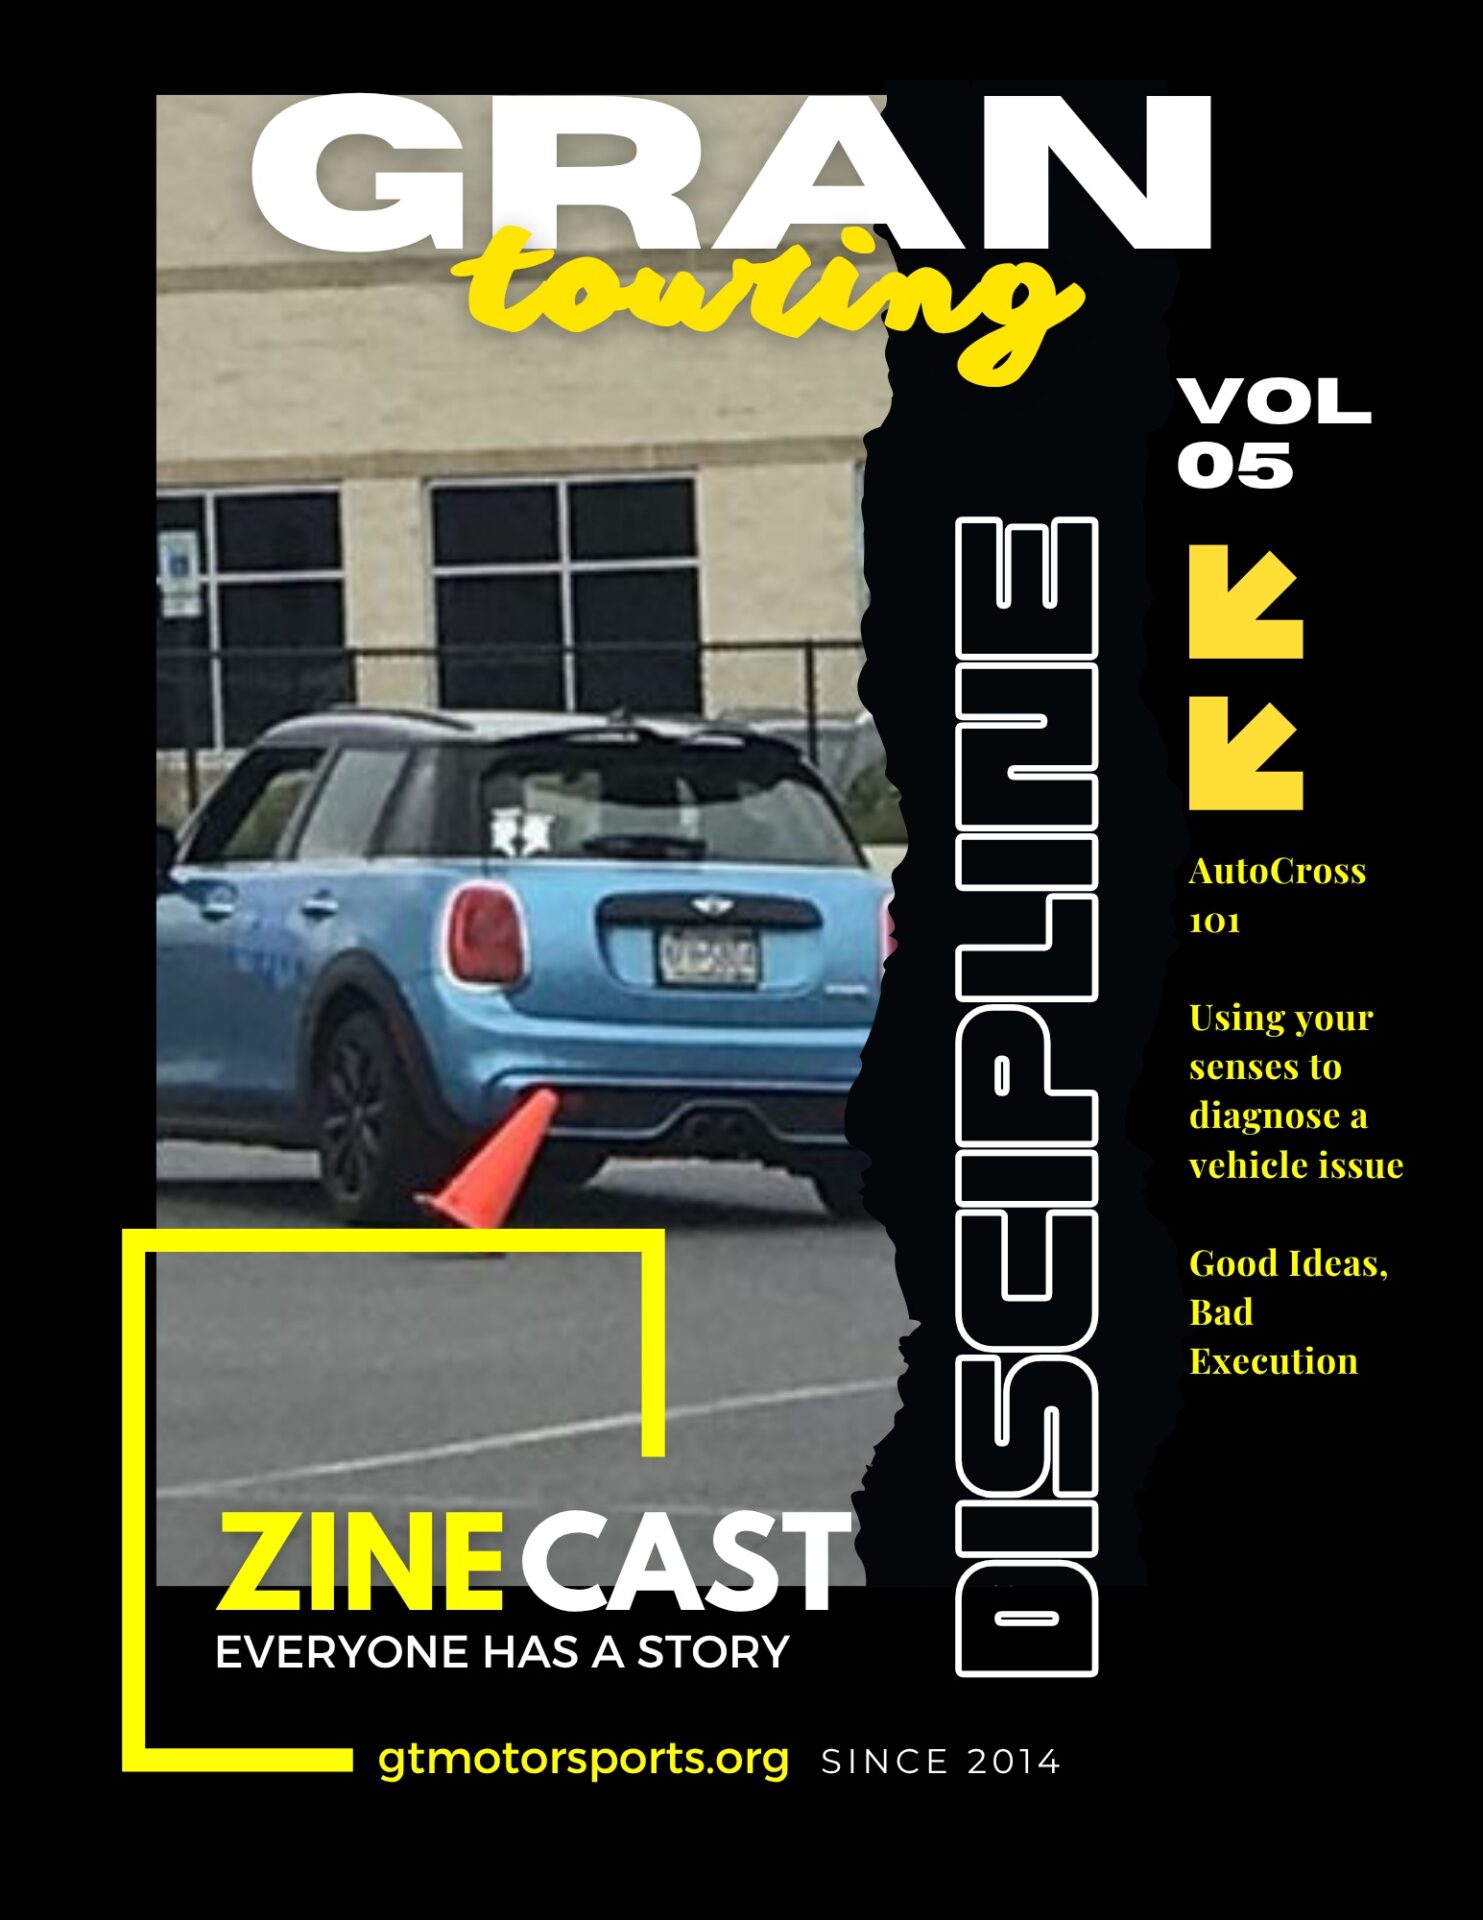
Autocross (Auto-X) is a sport of trying to navigate your car through a defined course made up of pylons usually on a large parking lot, faster than your competition. Autocross courses are set up using soft orange traffic pylons (aka “cones”) which will not damage your car.
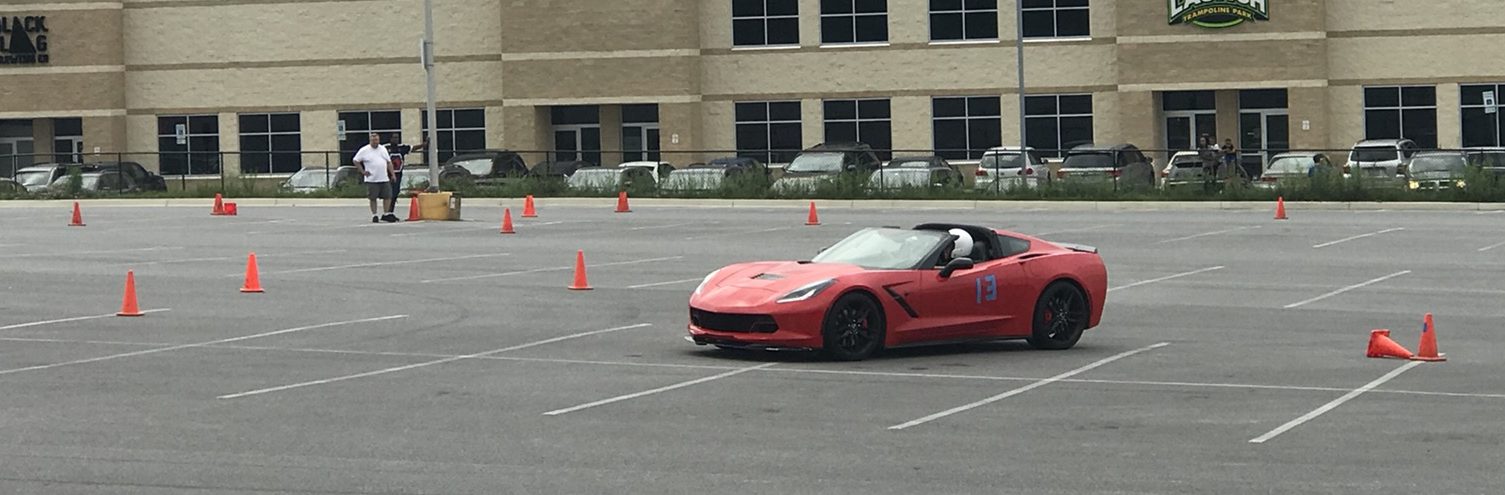
Events are run at speeds usually between 40-65 MPH, usually in 2nd gear. Autocross is a “performance driving event” and a safe way to learn how to drive your car at its limit. You not only learn how to handle your car at speeds that you drive daily, but you also:
- Gain confidence in your driving ability.
- Learn the limits of your car’s brakes
- Learn correct seating, hand, and feet positions
- Learn the limits of your car’s tire adhesion
Finally, Autocross is a social gathering of new and old friends and LOTS OF FUN!!!
Your first Autocross Day
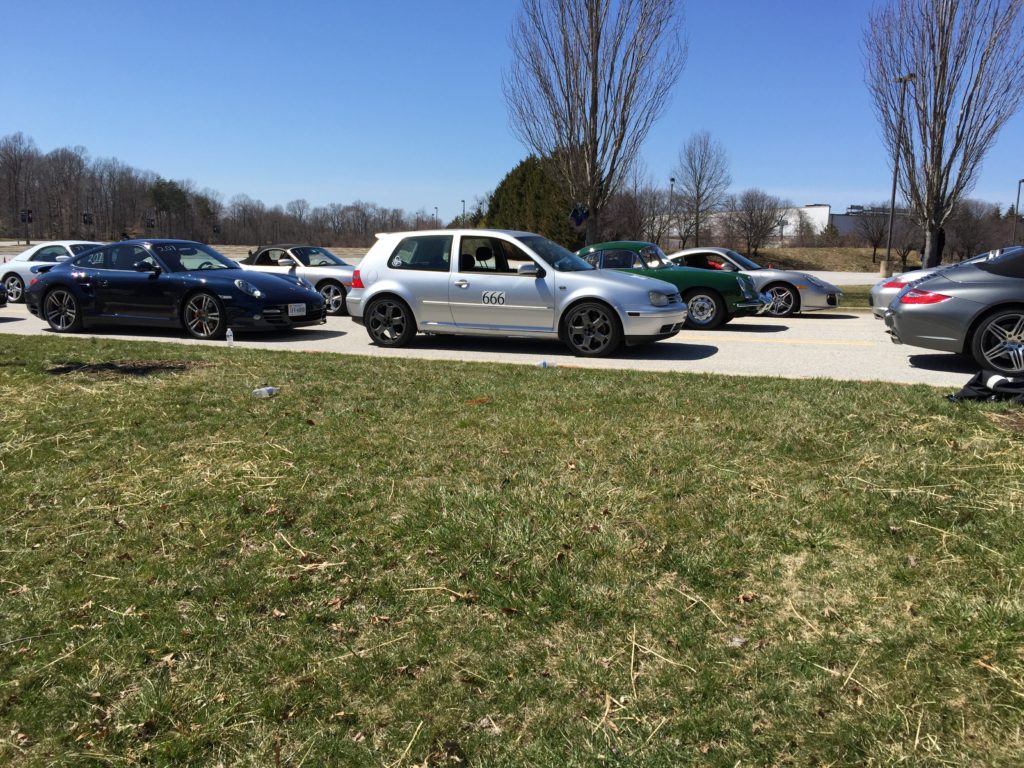
A course will be setup on a large parking lot. Soft traffic cones will be used to form a course consisting of turns, slaloms, and straight areas. Make sure to ARRIVE EARLY -- See what goes on... and GET INVOLVED.
When you arrive ... Prepare your car: Remove all loose items from your car -- floor mats, driver's carpet, coffee cups, etc. Check tire pressures and chalk your tires (Read on for more on Tires).
Register
- Register at the trailer
- Select a run group and get a car number.
- Complete waiver and registration form.
- Sign up for a work station
Technical Inspection:
- Drive your car to the Tech Inspection Area (unless the Inspectors are coming car-to-car).
- Give your Registration form to the Inspector
- Your car will be inspected for safety
- Car Number and Class will be put on window
Course Walk & Drivers Meeting:
- Check the course map at trailer
- Walk course with an experienced AutoCrosser
- Check surface for rough spots, sand, bumps, oil, etc.
- Study the course, look for: Turn in and apex points, braking points, entry point of slalom, etc.
At the Drivers Meeting
Check the course map at the timing trailer and attend the driver's meeting where you will learn about the course:
- Any recent changes to the course (unlikely, but happens)
- Safety
- Potential hazards (parked cars, drainage areas, etc.)
- Tight Corners
- Wet or Oil Spots
- Uneven or Rough Pavement
- Flagging and Corner Worker Instructions
- Availability of Instructors
The Course Walk
Otherwise known as "walking the line" - Walk the course with an experienced AutoCrosser. Check for surface bumps, Loose Gravel and Stones, Uneven Pavement, Joints, etc. You will be given between 10 and 20 minutes to walk the course (usually in the morning before competition starts).
To 'stay the course,' you must first stay on course
The first problem that confronts every AutoCrosser is staying on course. So the first step is to learn where it goes. Study the course map, and then walk the course. If no map is provided, make your own. Walk the course at every opportunity...and take your time. Avoid following a crowd that blocks your view. Walk the line you plan to drive as if you were sitting in the driver's seat.
Stop and study difficult or optional sections of the course to plan your line. Observe other drivers; note where they have difficulty -- hitting pylons or staying on course. Move around the course to observe problem areas from different locations.
Having completed this step, decide how to go. How to go calls for a plan. And remember, an imperfect plan is always better than no plan at all. The question AutoCrossers most often ask is, "How do I determine the best line or path around the course?"
To begin with, concentrating only on determining the best line in AutoCrossing may be compared to slalom skiing. In an autocross, we are concerned with three things: time, distance and speed.
The formula time = distance / speed expresses the relationship of these three factors. We must determine how to drive the course in the least possible time. In order to do this, the path chosen should offer the shortest distance and permit the greatest speed. As the formula illustrates, time can be made smaller by either decreasing the distance or increasing the speed...or better yet, both. Many times it becomes impossible to drive at the highest speed over the shortest distance. When this occurs, the best path is a compromise somewhere between the two extremes.
Sample Classing System
Stock - Cars must have been series produced with normal road touring equipment capable of being licensed for normal road use in the United States, and normally sold and delivered through manufacturer's retail sales outlets in the United States.
Some allowable modifications:
- Accessories, gauges, indicators, lights and other appearance modifications which have no effect on performance and/or handling and do not materially reduce the weight of the car are permitted.
- Alternate steering wheels are allowed provided the outside diameter is not changed by more than one inch from the standard size.
- Any tire which is O.E.M. on a car eligible for Stock Category may be used. Non allowable tires are: any tire with a tread wear less than 200.
- Any type of wheel may be used provided: It is the same width and diameter as stock and it does not have an offset more than +/- .25 inch from the standard wheel for the car. Wheel spacers are not allowed
- Any shock absorber may be substituted provided the number, type, system of attachment points are not altered. Suspension geometry and range travel may not be altered.
- Substitution, addition or removal of any front anti-roll bars is permitted
- The make of spark plugs, points ignition, coil, and high tension wires is free.
- Air filters may be removed, however, no other components of the air induction system may be removed, replaced, or modified.
Street Prepared
- Equipment and/or modifications may be exchanged between different years and models of a vehicle if the item is standard on the year/model from which it was taken. The updated/backdated part of the part to which it is to be attached may not be altered, modified, machined or otherwise changed to facilitate the updating/backdating allowance. The updating/ backdating of engines, transmissions or trans-axles must be done as a unit, component parts of these units may not be interchanged.
- Fenders and bumpers may be modified for tire clearance
- Any fully padded and upholstered front seat may be used
- Any steering wheel may be used
- Aerodynamic devices are permitted, however, wings are not allowed.
- Wheels of any diameter, width, or offset may be used.
- Shock absorber bump stops may be altered or removed.
- Any anti-sway bar is permitted.
- Suspension bushings may be replaced with bushings of any material (except metal) as long as they fit in the original location.
- Relocation of battery or batteries is permitted.
- Carbs., fuel injection, intercoolers and intake manifolds are unrestricted. Turbos may not be changed or modified.
- Limited Slip differentials are permitted.
Prepared
- Removal of glass and/or headlight, front parking or front signal light assemblies, lenses and bulbs is not required. Operating tail/stop lights are required.
- Mirrors are not required
- Grills may be removed
- Any fuel tank may be used
- Passenger seats are not required
- Driver and Passenger door glass may be removed
- Floor covering and all interior trim may be removed
- Component parts of the body may be lightened or replaced by ones of alternative materials.
- Roll bars and roll cages may be added.
Modified
- Interiors may be gutted
- Suspension systems and wheels are free
- Windscreen, side mirrors and tail/stop lights are not required.
Proper Seating Positions
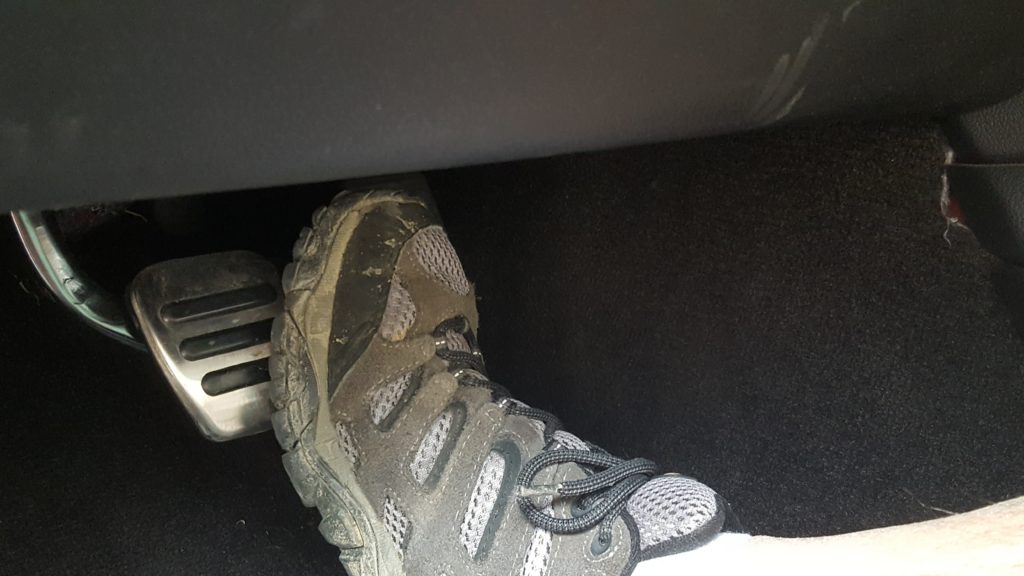
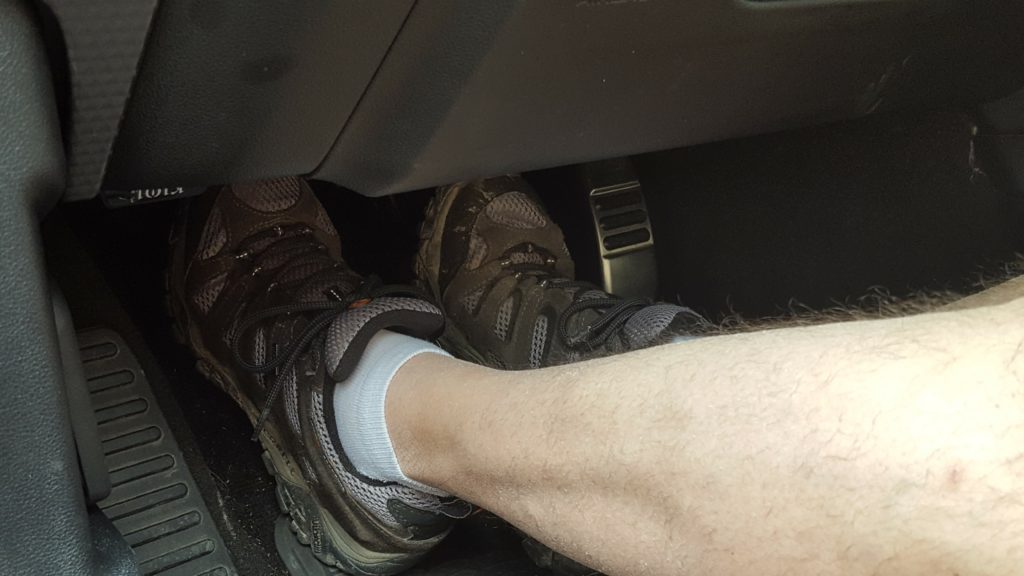
- Adjust the driver's seat so that your elbows are slightly bent while your hands are on the steering wheel either at the 10 and 2 o'clock position or the 9 and 3 o'clock position. Now your leg position should be adjusted so that your legs stay slightly bent even when you operate the clutch and/or the brake pedal. You do not want to over-extend or straighten your legs when you operate the various pedals. The seat back (rake) should be adjusted so that you can put the bottom of your wrists on the top of the steering wheel without stretching to do so. NOTE: Because of your body structure or that you are very tall, you may have to compromise your position to allow you to sit in the seat with your helmet on and not hit your head on the roof/headliner of your car. If anything adjust the rake of the seat more so than the leg position.
- If possible, obtain and use a four or five point harness. If using your standard shoulder/lap belt, try and adjust it tight enough so that you will not move around in your seat. This will enable you to concentrate more on your driving and less on trying to stay in your seat. Upgrading your standard belts with CGlocks are an excellent upgrade to help keep you planted in your seat.
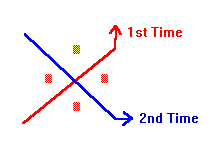
- Adjust your left side view mirror and your rear view mirror so that you can see that traffic that may come up behind you. Your instructor should adjust the right side view mirror for his view so that he can also watch oncoming traffic. Note: some AutoCrosses can and/or will have multiple cars running in a staggered pattern (aka "Dual Timing").
- Try and keep your head as erect as possible, that is, in the same plane as the car is in. Leaning your head into the turn will not make the car handle any better. What will happen is that you will receive a distorted view and distorted inputs through your eyes to your brain, thus in turn affecting your driving skills.
Steering Techniques
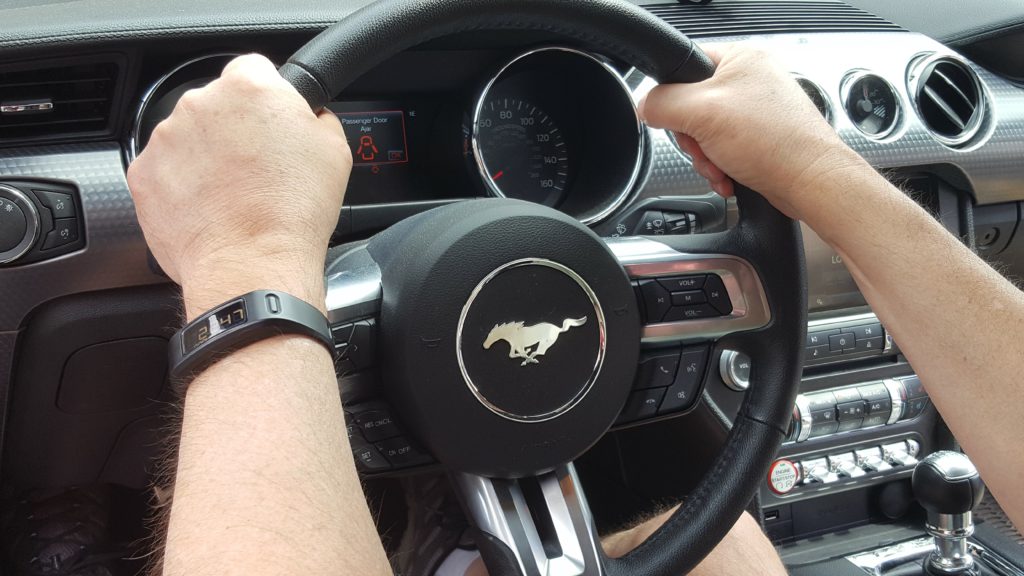
- Keep both hands on the steering wheel at all times, except at the start and shifting.
- Position your hands on the steering wheel at either the 10 and 2 o'clock positions or 9 and 3 o'clock positions on the wheel.
- For most of your steering inputs, you will not have to adjust your hand positions. However on some courses that have very tight turns you may want to use is known as "Shuffle Steering." - This will enable you to feed the wheel from hand to hand without taking either hand off of the steering wheel. First imagine that there is a vertical line through the steering wheel at 12 and 6 o'clock. The left hand stays on the left side of the wheel and the right hand stays on the right side. To turn right, slide the right hand up to the top of the steering wheel at 12 o'clock then pull the wheel down to the 6 o'clock position, meeting the right hand with the left hand which has slid around the steering wheel to that position. To continue to turn the wheel, the left hand will now pull the wheel to the 12 o'clock position, and so on. To turn left, the left hand begins the process by starting to pull the wheel from the 12 o'clock position down the left side to the 6 o'clock position where the right hand will meet it and continue the arc to the left.
- Remember: you use this process to turn into a corner and to turn out of the corner, so you turn in and you turn out. Don't let the steering wheel loose in your hands when coming out of a turn then grab it when you think it is straight. You will only be playing a guessing game. Steer in, steer out. Also, most of the movement that you will do with this method will go beyond the 9 and 3 o'clock positions on the steering wheel. The more you practice this method, the easier it will work, eventually it will be an automatic process. As you exercise the procedure, you will appear to be moving the wheel slowly, but deliberately. Slow down and you will go faster!
Heel 'n' Toe
This is what you need to use to make smooth shift changes when going from a higher gear to a lower gear and at the same time braking. The first question you may ask is, "There are three pedals, but I only have two feet?" With this technique, which you will use at the end of the brake zone, will enable you to continue your braking and to "blip" the accelerator (throttle) to get your engine's RPM's up for that SMOOTH shift when you let out the clutch and engage to accelerate through the apex and out of the turn.
There are three basic positions to accomplish this task:
- Ball of the right foot on the brake, heel on the bottom or middle
of the accelerator
- Ball of the right foot on the accelerator, heel on the brake.
- The left side of the right foot on the brake, and the right side
of the same foot on the accelerator -- rolling the foot to the
right side to blip the accelerator.
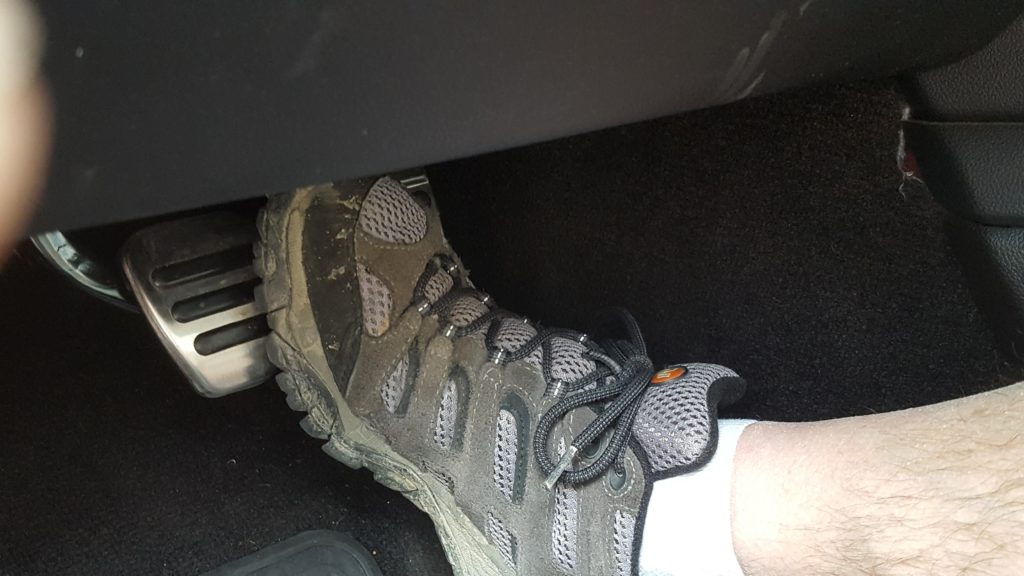
There is no set position that is most correct, which one works is the one that works the easiest and the best for you. And also depends upon your pedal cluster and how you can angle your feet.
Lets work through the process: You are accelerating down a long straight on the course and will be approaching a turn. To proceed through the turn properly, you will need to be in a lower gear. As you approach the turn, you brake. As you near the end of the brake zone, while still maintaining the braking of the car, you push in the clutch with your left foot, then move your right foot to blip the accelerator while you are still continuing the braking procedure. Now with the clutch still in, you shift from the higher gear to the lower gear, then let out the clutch, at the same time, bliping the throttle several times to maintain the higher engine RPM. As the clutch is engaged and the engine's RPM's meet the transmission RPM's this shift procedure will be smooth. This will eliminate the jolts you may have felt in the past when the clutch was engaged. It keeps the attitude of the vehicle stable, the suspension stable, and your driving line SMOOTH.
Remember, this is a technique that should be practiced at slow speeds, in a parking lot, etc., until you have the routine down smoothly and you do not have to concentrate on working it. It is an important technique which you will use whether you are driving on the road course, AutoCrossing or just everyday street driving.
Once the Event starts
Watch other drivers:
What line are they driving?
Where are the breaking points?
Where are the shifting points? -- (Up and Down)
Now it's your turn:
- Bring your car to staging area
- Proceed to start line
- Check your seat belt
- Make sure all loose objects are out of the car
- Turn the rear view mirror away from view
- Focus your thoughts on how you want to drive & the course
- Starter gives the OK!
- Start sharp, but don't spin tires
- Look ahead at gates & know where you want to be
- Remember when to brake and shift
- If you should spin
- BOTH FEET IN!
- Hands at 3 & 9 on steering wheel
- Look for corner workers to re-start you
- Finish the course
- BOTH FEET IN!
- If you see a Red Flag or hear a loud horn:
- Quickly come to a Complete Stop
- Look for corner workers to re-start you
- Drive the First Run at Reduced Throttle
- Learn to stay on course
- Drive a good line
- Drive S M O O T H L Y
- HAVE A GOOD TIME !!!!
Tips & Guidelines
General Rules
- A car is most stable under acceleration
- Never brake in a corner!
- Enter slow, exit fast
- Use a consistent, comfortable braking point
- Maximize exit speed by getting on the power sooner,
before increasing entry speed into the corner.
The Line
- The line is the route around a course and through its corners which will enable the car to go fastest.
- In a corner, it's the broadest arc that maximizes speed, given "g" as a constant in V(2) = 15 gr
- The "line" and the goemetry of the edges of the pavement are usually different.
- There is only one "line"
- Different cars require different approaches to stay on the "line"
- The most important corners are those leading to the longest straights.
- Concept of Apex: The Geometric Apex is at the point where the bisection of the angle of the tangent lines drawn from the turn entry and turn exit crosses the inside edge of the track. The Driven Apex is the point on the inside of the track that the driver chooses (hopefully intentionally) to divide the turn. If before the Geometric Apex, it is termed an Early Apex. If after the Geometric Apex, it is termed a Late Apex. In general: "Late Apex = Safe Apex."
Vision
- Eyes up -- don't drive off the nose of the car.
- Where you're looking is where you're going
- Look through a corner and beyond, expand your field of vision.
- When exiting a corner look ahead for:
1. Flag Station and Corner Workers
2. Traffic - all around
3. Mirrors, gauges, etc. - Do not follow blindly
- Do not fix in on the cones
Vision is the most important element of High Performance Driving
Tires
Consider "Chalking Your Tires" - Chalking tires is an AutoCross technique designed to give you base level information about the over/under and just right inflation of your tires without spending a lot of money on expensive tire monitors and pyrometers. The goal of chalking tires is to find the right tire pressure to maximize tire grip.
Over inflated tires lead to sliding and loss of traction while cornering. Under inflation leads to poor handling qualities. During a typical AutoCross run, tire temperatures increase much more than street driving. The increase in temperature leads to an increase in air pressure in the tires. Recommended tire pressures are posted on a placard visible when the driver’s door is open. For a beginner, the placard recommended pressures are a good starting point. If your Student has their tires inflated to the recommended pressure at the beginning of the session, the tires will heat and be in an overpressure situation during the session. Typical pressure increases can range between 2 to 12 psi depending on the type of tire, outside air temperature and other factors.
You can use sidewalk chalk purchased from the toy department of grocery stores or department stores or white shoe polish (preferable water soluble).
The mark should start from the sidewall and continue around the shoulder toward the center of the tire to where the tread flattens out (see Example below). The front tires will experience more heating than the rear tires, so chalk at least one front and one rear tire. For consistency, chalk each tire with three marks separated by 120 degrees (or at the 12, 4 and 8 o’clock positions on the clock face).
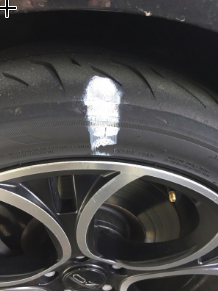
Example: Chalking the tire across the shoulder/sidewall of the tire
Determining the proper amount of rollover… try and use this technique with your tires to aid your driving and also rule out any possible handling issues due to poorly or improperly inflated tires. 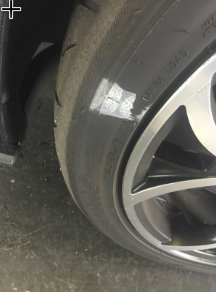
Note: In the rain add about 2 pounds more pressure to each tire
Gates & Obstacles - Understanding the Course Map
Start Gate
| 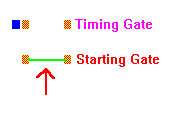 |
Box
|  |
Decision Gate
|  |
Offset Gates
|  |
Even Slaloms Constant speed, smooth steering inputs. Entry and Exit on the opposite side. | 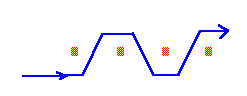 |
Odd Slaloms Constant speed, smooth steering inputs. Entry and Exit on the same side. |  |
Expanding Slaloms Increase speed, smooth steering and acceleration. | 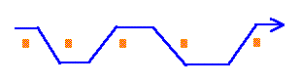 |
Decreasing Slaloms Decrease speed, smooth steering and braking. | 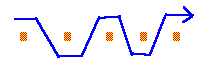 |
Optional Slaloms Enter on either side | 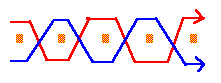 |
Mandatory Slaloms Enter side opposite the arrow | 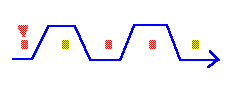 |
Stop Garage
|  |
Suspension Do's and Don'ts
| Suspension Component | Causes Oversteer | Causes Understeer |
| Front Spring Rate | Lighter (smaller dia.) torsion bars or spring wire dia. | Heavier (larger dia.) torsion bars or spring wire dia. |
| Rear Spring Rate | Heavier (larger dia.) torsion bars or spring wire dia. | Lighter (smaller dia.) torsion bars or spring wire dia. |
| Front sway bar | Lighter or adjust to lengthen arm | Thicker or adjust to shorten arm |
| Rear sway bar | Heavier or adjust to shorten arm | Thinner or adjust to lengthen arm |
| Weight distribution | More rearward | More forward |
| Front Shock Absorber | softer | harder |
| Rear Shock Absorber | harder | softer |
| Front camber | more negative | more positive |
| Rear camber | more positive | more negative |
| Front tire width | larger | smaller |
| Rear tire width | smaller | larger |
| Front tire pressure | lower | higher |
| Rear tire pressure | lower | higher |
| Front track | wider | narrower |
| Rear track | narrower | wider |
| Front spoiler | larger | smaller |
| Rear Spoiler | smaller or less angle | larger or more angle |
To help clarify the information you’ve just read please be sure to check out our Glossary of Racing Terms.


")


